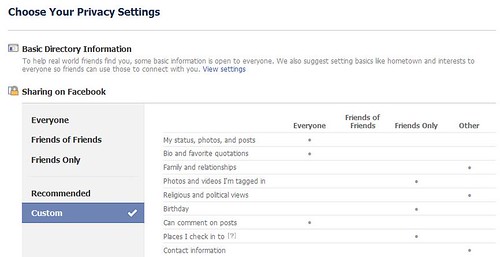
I just finished speaking to a group of nonprofit leaders at a workshop. There was a point in the discussion when one of the participants became very hung up in how one makes lists and decides who sees what in your Facebook profile. I’m endeavoring to address that here, in five easy steps.
1. Log on to Facebook and look for the word “Account” in the upper lefthand corner.
2. Click on Account and choose Edit Friends from the drop down menu to get to the following screen:
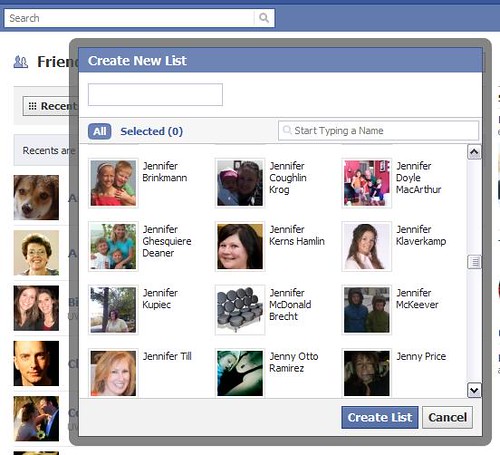
Just LOOK at all those lovely Jennifers!
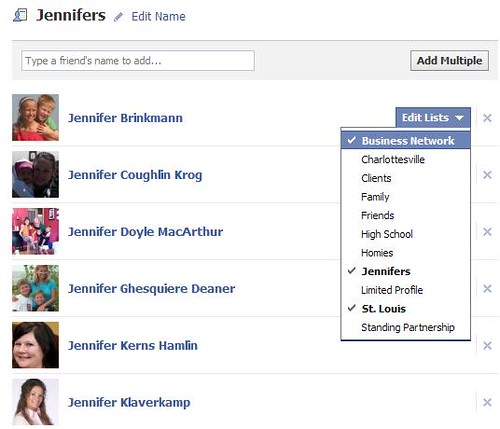
4. Now that I’ve created my list of Jennifers, I can decide if each Jennifer should belong to other lists as well, for example, this Jennifer is also a friend and someone who is part of my network in St. Louis, so she should belong to both of these lists as well.
See? Privacy in Five Steps. Easy.


fabulous!
Thanks for posting… while I’ve used these techniques for a long time, I can now direct my friends to your blog instead of spending an hour on the phone with them telling them how to do it 🙂
Have you spent much time with the new Facebook groups feature launched recently? I haven’t had time to play but if you write about it, I’m sure it would get plenty of attention!
On #1, you say upper left-hand corner, but your arrow points to upper right. That’s stage left, correct? 😉
Ha – Dolly — yes! Good catch — will edit.
And, every time you post a status update, you can select who gets to see it. You click on the little padlock, select Customize. On the next window, click the drop down and select Specific People. Then, type in the name of the list you want to share that status with. They’re the only ones who will see it!